
How to Rename a Database in cPanel (2026 Guide)
How to Rename a Database in cPanel (2026 Beginner’s Guide)
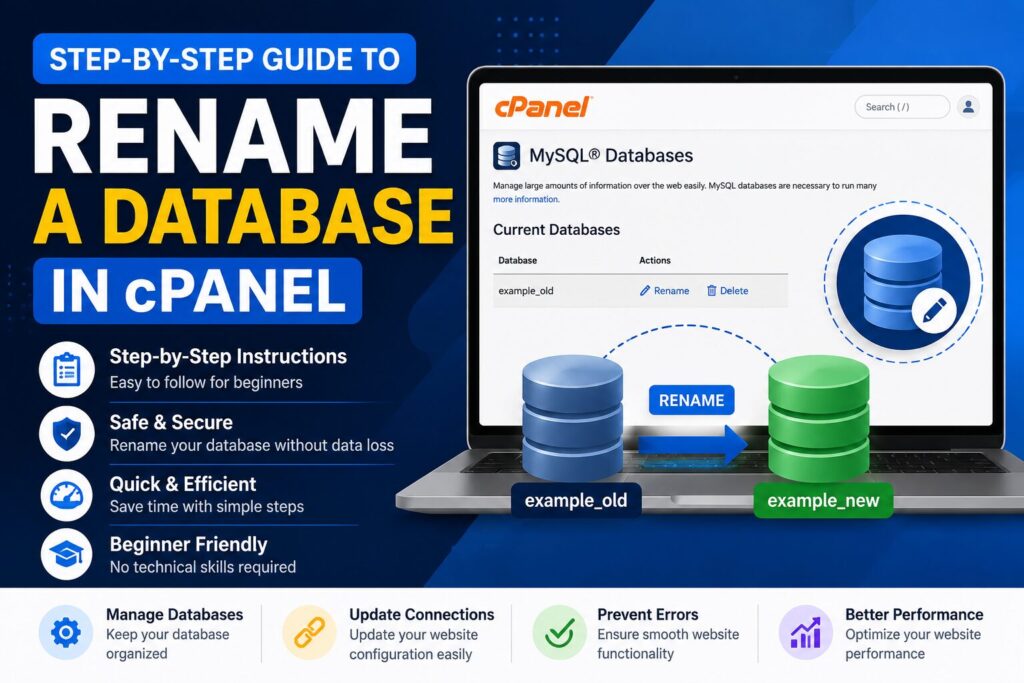
If you’re looking for how to rename a database in cPanel, you may be surprised to learn that cPanel does not include a built-in option to rename MySQL databases.
Instead, the safest method is to create a new database, move your data into it, update your website configuration, and remove the old database if everything works correctly.
In this guide, you’ll learn the complete beginner-friendly process, including how to avoid data loss, update your website, and verify that everything works before deleting the old database.
Important: Always create a backup before making changes to your database.

What Is Database Renaming?
A database stores important information for your website, such as:
- WordPress posts
- User accounts
- Product information
- Website settings
- Comments
Renaming a database means changing its name without losing any of its data.
Real-world example
Imagine you created a database called:
myblog_oldLater, you want a more organized name like:
myblog_liveSince cPanel doesn’t allow direct renaming, you’ll create a new database named myblog_live, copy the data, update your website, and then remove the old database.
Why Is It Important?
Renaming a database can help you:
- Keep databases organized
- Follow naming conventions
- Separate development and live websites
- Prepare for migrations
- Improve project management
- Remove confusing database names
Common situations include:
- Launching a redesigned website
- Moving websites
- Cleaning old hosting accounts
- Managing multiple client websites
Requirements Before You Start
Make sure you have:
| Requirement | Why It’s Needed |
|---|---|
| Hosting account | To access cPanel |
| cPanel login | Required to manage databases |
| Full database backup | Protects against accidental data loss |
| Web browser | To access cPanel |
| Enough storage space | Needed for backup and export files |
| phpMyAdmin access | Required to import/export databases |
Quick Checklist
- ✅ Hosting account
- ✅ cPanel access
- ✅ Database backup
- ✅ Internet connection
- ✅ phpMyAdmin available
- ✅ Website maintenance window (recommended)
Step-by-Step Guide to Rename a Database in cPanel
Step 1: Log in to cPanel
What to do
Sign in to your hosting account and open cPanel.
Why you’re doing it
This gives you access to database management tools.
What you’ll see
The cPanel dashboard with different sections.
Beginner Tip
Use the search bar at the top of cPanel to quickly find Databases.
Common Mistake
Logging into the hosting client area instead of cPanel.
Step 2: Back Up the Existing Database
What to do
- Open phpMyAdmin.
- Select your current database.
- Click Export.
- Choose Quick.
- Click Go.
Why you’re doing it
This creates a backup in case something goes wrong.
What you’ll see
A downloaded .sql file.
Beginner Tip
Store the backup somewhere safe before making any changes.
Common Mistake
Skipping the backup because “nothing will happen.”
Step 3: Create a New Database
What to do
- Open MySQL Databases.
- Under Create New Database, enter the new database name.
- Click Create Database.
Why you’re doing it
This new database will replace the old one.
What you’ll see
A success message confirming the database was created.
Beginner Tip
Choose a clear, meaningful database name.
Common Mistake
Using spaces or special characters.
Step 4: Create or Assign a Database User
What to do
Create a new database user or assign the existing one.
Then:
- Add the user to the new database.
- Grant ALL PRIVILEGES.
Why you’re doing it
Without permissions, your website cannot access the database.
What you’ll see
Privilege options with checkboxes.
Beginner Tip
Always select ALL PRIVILEGES unless you specifically need limited access.
Common Mistake
Forgetting to add the user after creating the database.
Step 5: Import the Backup into the New Database
What to do
- Open phpMyAdmin.
- Select the new database.
- Click Import.
- Choose the exported SQL file.
- Click Go.
Why you’re doing it
This copies all website data into the new database.
What you’ll see
An import success message.
Beginner Tip
Wait until the import finishes before closing the browser.
Common Mistake
Importing into the wrong database.
Step 6: Update Your Website Configuration
What to do
Edit your website configuration file.
For WordPress:
wp-config.phpChange:
DB_NAMEto the new database name.
If needed, update:
- Database username
- Password
Why you’re doing it
Your website needs to know where its data is stored.
What you’ll see
A configuration file with database settings.
Beginner Tip
Double-check every character.
Common Mistake
Misspelling the database name.
Step 7: Test Your Website
What to do
Visit:
- Homepage
- Login page
- Contact forms
- Admin dashboard
Why you’re doing it
To verify the new database works correctly.
What you’ll see
Your website loading normally.
Beginner Tip
Test every important page before deleting the old database.
Common Mistake
Deleting the old database immediately.
Step 8: Delete the Old Database (Optional)
What to do
Once you’re sure everything works:
- Remove the old database.
Why you’re doing it
Keeps your hosting account clean.
What you’ll see
Confirmation before deletion.
Beginner Tip
Wait several days before deleting it.
Common Mistake
Deleting it before verifying the website.
Database Migration Workflow
| Step | Action |
|---|---|
| 1 | Export old database |
| 2 | Create new database |
| 3 | Add database user |
| 4 | Import SQL backup |
| 5 | Update configuration |
| 6 | Test website |
| 7 | Remove old database |
Best Practices
- Always create a backup first.
- Use descriptive database names.
- Keep database usernames organized.
- Test your website thoroughly.
- Don’t delete old databases immediately.
- Store backups offline.
- Use strong passwords.
- Document database names.
- Update configuration carefully.
- Verify user permissions.
Common Problems and Solutions
| Problem | Solution |
|---|---|
| Import fails | Increase upload limit or split the SQL file. |
| Website shows database error | Verify database name, username, and password. |
| Access denied | Check database user permissions. |
| SQL file won’t upload | Compress the file or increase PHP upload limits. |
| White screen after migration | Clear cache and verify configuration. |
| Website missing data | Import may have been incomplete. |
| phpMyAdmin timeout | Import during low server usage or use command-line tools if available. |
FAQs
1. Can I rename a database directly in cPanel?
No. cPanel does not provide a direct database rename feature.
2. Is it safe to rename a database?
Yes, if you create a backup and follow the proper migration process.
3. Will my website go offline?
It may briefly if the configuration isn’t updated immediately.
4. Do I need phpMyAdmin?
Yes. It’s the easiest way to export and import databases in cPanel.
5. Can I use the same database user?
Yes. Simply assign it to the new database with the correct permissions.
6. Should I delete the old database?
Only after confirming the new database works correctly.
7. Will my WordPress website still work?
Yes, once wp-config.php points to the new database.
8. Can I restore the old database if something goes wrong?
Yes, if you created a backup before starting.
Conclusion
Although how to rename a database in cPanel sounds like a simple task, cPanel doesn’t support direct database renaming. The safest approach is to create a new database, move your data, update your website settings, and carefully test everything before removing the old database.
Taking a few extra minutes to create a backup can save hours of troubleshooting later. If you’re managing a WordPress site or any database-driven website, following these steps will help ensure a smooth and safe transition.
Pro Tip: Never delete the original database until you’ve confirmed that your website works perfectly with the new one.
