
How to Generate a cPanel Backup and Send It to an FTP Server (2026 Guide)
How to Generate a cPanel Backup and Send It to an FTP Server (2026 Guide)
Backing up your website is one of the most important things you can do as a website owner. If your website gets hacked, your server crashes, or you accidentally delete files, a backup can help you restore everything quickly.
One of the safest ways to protect your website is to generate a full cPanel backup and send it directly to an FTP server. This creates an offsite backup, meaning your backup is stored on a different server instead of the same hosting account.
In this beginner-friendly guide, you’ll learn exactly how to create a cPanel backup, send it to an FTP server, understand the different backup types, and avoid common mistakes.

What Is a cPanel Backup?
A cPanel backup is a copy of your website’s important data, including:
- Website files
- Images
- Databases
- Email accounts
- Email settings
- DNS settings
- Configuration files
Think of it like making a copy of all the important documents on your computer and storing them on an external hard drive. If something happens to the original files, you can restore them from the backup.
When you choose to send the backup to an FTP server, the backup file is automatically transferred to another server over the internet.
Why Send Your Backup to an FTP Server?
Saving backups only inside your hosting account isn’t always enough.
If your hosting account becomes unavailable, those backups may also be lost.
An FTP server gives you an extra layer of protection.
Benefits
- Keeps backups off your hosting server
- Protects against server failures
- Helps recover from hacking incidents
- Saves local computer storage
- Makes disaster recovery easier
- Suitable for businesses and large websites
Requirements Before You Start
Before creating your backup, make sure you have the following:
| Requirement | Description |
|---|---|
| cPanel Access | Login credentials for your hosting account |
| Hosting Account | Active hosting plan with backup permission |
| FTP Server | FTP hostname, username, password, and destination folder |
| Stable Internet | Required to submit the backup request |
| Available Disk Space | Enough space to generate the backup |
Important: Some hosting providers disable Full Backup creation on shared hosting. If you cannot see the option, contact your hosting provider.
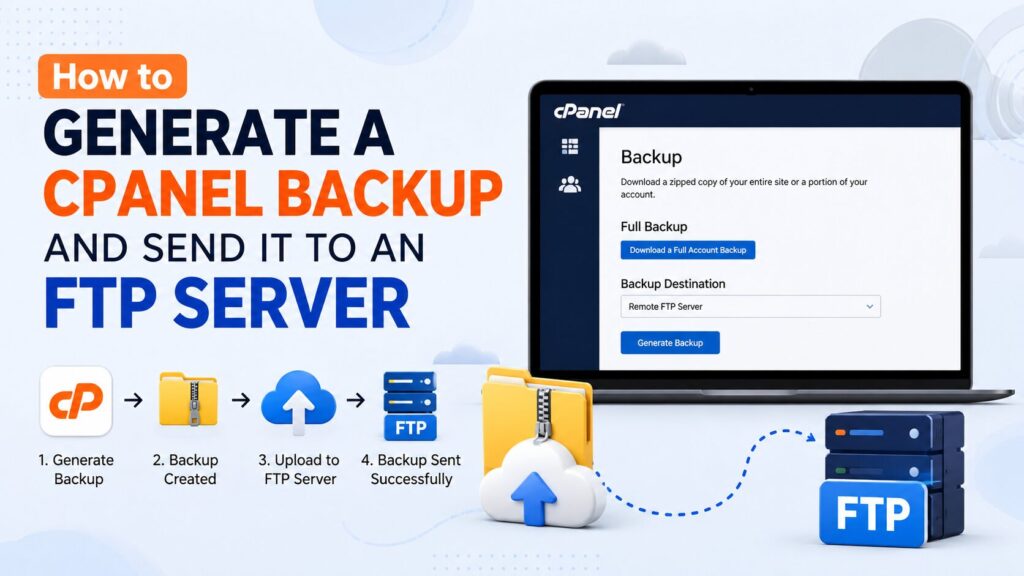
How to Generate a cPanel Backup and Send It to an FTP Server
Step 1: Log in to cPanel
Open your hosting control panel.
Usually, you can access it using:
https://yourdomain.com/cpanelor
https://yourdomain.com:2083Enter your username and password.
Why?
You need to access the Backup feature inside cPanel.
What You’ll See
The cPanel dashboard with different sections like:
- Files
- Databases
- Domains
- Security
Beginner Tip
Use HTTPS whenever possible for a secure login.
Common Mistake
Using incorrect login credentials.
Step 2: Open the Backup Wizard or Backup Tool
Scroll to the Files section.
Click either:
- Backup
- Backup Wizard
Both can generate backups.
Why?
This tool creates copies of your website data.
What You’ll See
Options for:
- Full Backup
- Home Directory Backup
- Database Backup
- Email Backup
Step 3: Select Full Backup
Click Generate a Full Website Backup.
A full backup includes:
- Website files
- Databases
- DNS settings
- Configuration files
This is the recommended option for complete website protection.
Step 4: Choose FTP as the Backup Destination
Under Backup Destination, select:
Remote FTP Server
This tells cPanel to upload the backup directly to another server.
Step 5: Enter Your FTP Details
Fill in the required information.
| Field | Example |
|---|---|
| Remote Server | ftp.example.com |
| Remote User | backupuser |
| Remote Password | ******** |
| Port | 21 |
| Remote Directory | /backups/ |
Some hosting providers may also ask for:
- Passive Mode
- FTP over SSL (FTPS)
Use FTPS whenever it’s available for better security.
Why?
These details tell cPanel where to upload your backup.
Beginner Tip
Double-check every field before submitting.
A single typing mistake can cause the upload to fail.
Step 6: Enter Your Email Address
Provide an email address where cPanel can notify you after the backup is complete.
You can also choose:
- Notify only on failure
- Always send notification
Email notifications help you confirm whether the backup completed successfully.
Step 7: Click Generate Backup
Click the Generate Backup button.
The backup process starts in the background.
Large websites may take several minutes or even hours.
What You’ll See
A confirmation message similar to:
Your backup has been scheduled.
Step 8: Verify the Backup on the FTP Server
After receiving the completion email:
- Connect to your FTP server
- Open the backup directory
- Confirm the backup file exists
Typical filename:
backup-7.5.2026_10-30-15_username.tar.gzIf the file is present, your offsite backup was successful.
Types of cPanel Backups
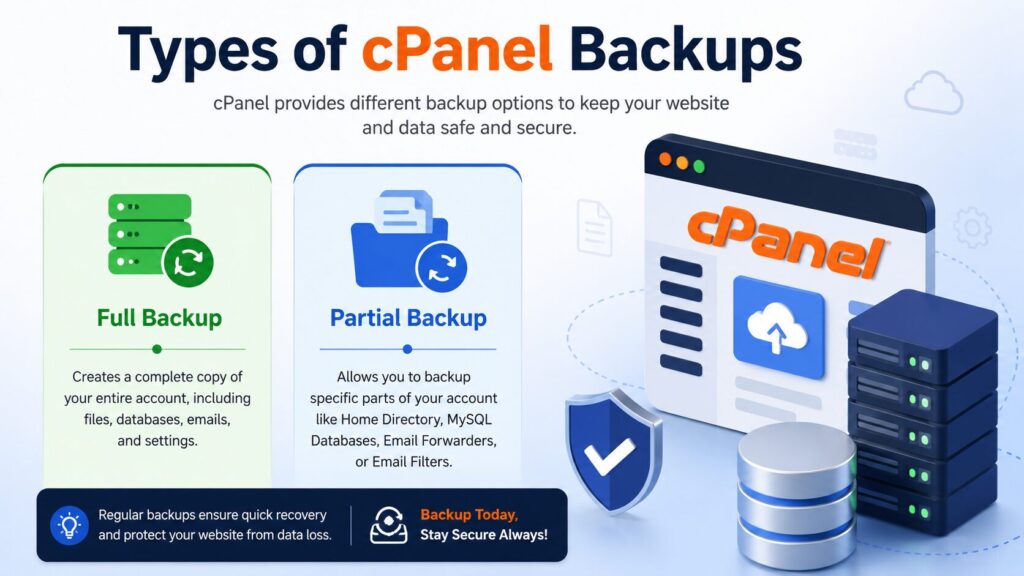
| Backup Type | Includes | Best For |
|---|---|---|
| Full Backup | Everything | Disaster recovery |
| Home Directory Backup | Website files only | File restoration |
| Database Backup | MySQL databases | Website databases |
| Email Forwarders | Email settings | Email migration |
| Email Filters | Email rules | Email restoration |
Best Practices
Follow these tips for safer backups:
- Schedule regular backups.
- Keep multiple backup copies.
- Store backups in different locations.
- Test backup restoration occasionally.
- Encrypt sensitive backup files.
- Use FTPS instead of plain FTP whenever possible.
- Delete outdated backups regularly.
- Keep your FTP password secure.
- Monitor backup notifications.
- Verify backups after every upload.
Common Problems and Solutions
| Problem | Solution |
|---|---|
| Backup fails | Check available disk space |
| FTP connection failed | Verify FTP hostname, username, password, and port |
| Authentication error | Reset FTP credentials |
| Upload stops midway | Check internet connection or firewall |
| Backup file missing | Wait for completion email and refresh FTP directory |
| Storage full | Free space on the FTP server |
| Timeout error | Retry during low server activity |
| Corrupted backup | Generate a new backup and verify file size |
Checklist Before Generating a Backup
- ✅ Logged into cPanel
- ✅ FTP server is ready
- ✅ FTP credentials verified
- ✅ Enough storage space available
- ✅ Email notification enabled
- ✅ Selected Full Backup
- ✅ Correct destination chosen
- ✅ Clicked Generate Backup
Frequently Asked Questions
1. Is sending a cPanel backup to an FTP server safe?
Yes. It’s considered one of the safest methods because your backup is stored offsite. For better security, use FTPS if your server supports it.
2. How often should I generate backups?
For active websites, create backups daily or weekly depending on how often your content changes.
3. Can I restore this backup later?
Yes. A full cPanel backup can usually be restored through your hosting provider or cPanel, depending on your hosting plan.
4. What’s the difference between FTP and FTPS?
FTP transfers data without encryption, while FTPS encrypts the connection, making it more secure.
5. Can I use cloud storage instead of FTP?
Some hosting providers support remote destinations such as cloud storage, but FTP is one of the most widely supported options in cPanel.
6. Why didn’t my backup upload?
Common reasons include:
- Incorrect FTP credentials
- No storage space
- Firewall restrictions
- Network interruptions
7. Does cPanel automatically create backups?
Some hosting providers enable automatic backups, while others require you to create them manually or purchase a backup service.
8. Can I download the backup after sending it to FTP?
Yes. Once the backup is stored on the FTP server, you can download it whenever needed using an FTP client.
Conclusion
Knowing how to generate a cPanel backup and send it to an FTP server is an essential skill for every website owner. Storing backups on a remote FTP server protects your data even if your hosting account experiences problems.
For the best protection, create backups regularly, verify that they upload successfully, and keep multiple copies in secure locations. A few minutes spent setting up offsite backups today can save hours—or even days—of recovery work in the future.
